Creating an iOS app and having it added to the App Store is always an exciting and challenging endeavor. There are several steps that you have to follow in order to turn your app from an idea to one of the million apps available for download on the App store.
It all starts with iTunes Connect – a suite of web-based tools created to help developers submit and manage the apps they created. There are two kinds of apps available on Apple App store – free and paid apps. When Apple’s App store was initially released in 2008, there were only 800 apps available for download. As of January 2017, there are 2.2 million apps available to download for various iOS devices.
First step in creating an iOS app is becoming an Apple Developer. Registering to use Apple Developer Tools is free, but there is a $99 fee for submitting your app to the app store. Apple also has a great developer center with all the information needed to make your app.
Bellow, you can find steps how to release your app in no time!

1. Enroll in the Apple Developer program
If you choose to enroll as an individual, you will have to sign up for the Apple Developer Program using your Apple ID. You will need to provide your personal information such as legal name and address, but the individual license process ends here. However, if you choose to enroll as an organization, the process becomes a little bit more complicated. You will have to provide a D-U-N-S Number, Legal Entity Status and Legal Binding Authority (you must have the legal authority to bind your organization to legal agreements).
2. Develop the app
First step for developing the app is downloading the SDK (Software Development Kit) for iOS that allows you to start developing your own app for iPad, iPhone or iPod touch. The iOS developer center provides you with plenty of documentation, sample codes, guides and videos to start your development. Once you have your wireframes ready you can start designing your app with templates provided in the SDK.
In order to create the app, you will need to know one of the two programming languages – Objective-C or Swift. If you are not a developer or do not have time to create your app, don’t worry! We at Farshore have a big pool of resources that can help you mold your ideas into the working app.

3. Create App Record
After you are done with developing your app and before you can upload it for distribution, you will need to create a record in iTunes Connect. This record needs to have all of the information that appears in the app store. You need to be the team agent or have Admin, Technical or App Manager User role to add the app into iTunes Connect.
Below are the 6 steps that you need to follow in order to add an iTunes Connect record for your new app:
- Sign in to iTunes Connect
- Click on My apps on iTunes Connect homepage
- Select the plus sign in top-left corner to add the new app
- If you have signed a contract you will have to select your app type: New App or New Mac App. The choices don’t appear if you haven’t signed a contract.
- Select a platform (iOS or tvOS) and fill in the fields: Name, Default Language, Bundle ID, SKU and Limit User Access (optional).
- Click on Create. You will be informed if there is missing or invalid information.
Upon completing the above steps, your record will be saved successfully and you can now upload your app to iTunes Connect.
4. Upload the app
Once you have created and saved the App Record, you can upload your app’s build. Only certain users can upload builds to iTunes Connect and those are Admin, Technical, App Manager and Developer. Tools available for uploading the builds are Xcode and Application Loader. Xcode is an integrated development environment that come with all of the tools needed for your app and it is also used to upload your app to iTunes Connect. On the other hand, Application Loader is a tool that comes really handy if your app includes in-app purchase products that need to be configured for the app.
5. Beta test the app
When the app is ready, there two options options to choose from. You can either submit it for review or beta test it by using TestFlight. TestFlight is an online service for testing mobile applications for developers in iOS Developer program. We in Farshore strongly suggest beta testing your app in order to maximize quality and user experience.While we have expert testers that do this for us, you can choose anyone who has an iOS device to test your app. It is a free and valuable way to improve your app and it helps you reduce the amount of bugs before you submit it for release. It is always better to test your app on different iOS devices and with different operation systems rather than on an Emulator. Using Testflight allows you to share your build with up to 100 devices which should be more than enough to ensure a good quality of your app.
You should follow the 8 steps below in order to set up you app for beta testing with TestFlight:
- Create an iTunes Connect record for the app if it’s a new app.
- Upload a build for the app.
- Add “App Description” and “What to Test” to the build. This is optional for releasing your builds to internal testers but required when you want to submit your app to Beta App Review (external testing).
- Distribute the app to internal testers.
- Submit the app for Beta App Review and distribute it to External users.
- Get feedback from your testers.
- Upload updated builds with fixed bugs.
- When your app is bug-free, submit it for App Review or turn off testing.
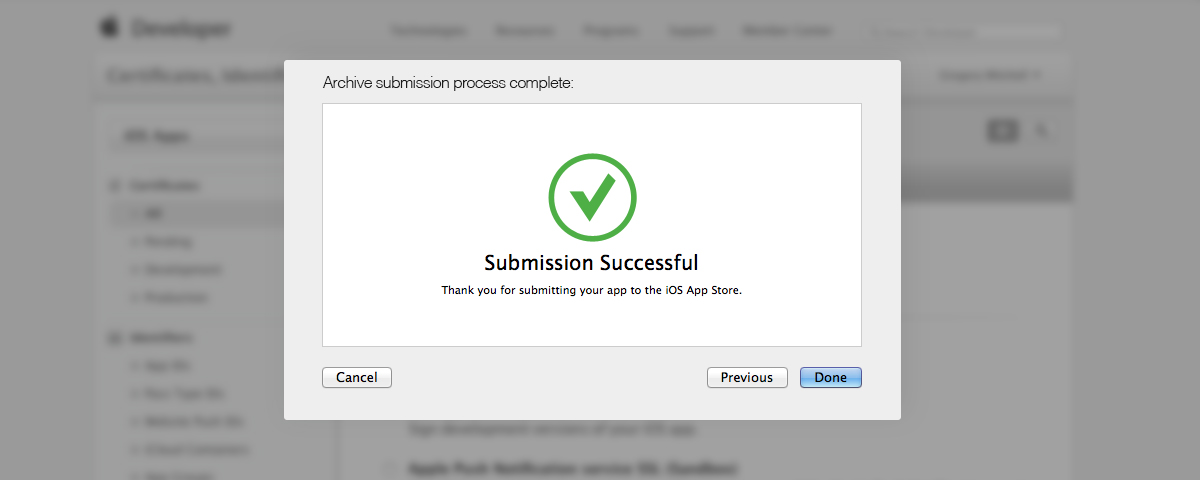
6. Submit the app
After you make sure your app is bug-free and ready for release you have to submit your app for review. Only users with Admin, App Manager and Technical role can submit an app for review.
Make sure to configure the following properties that can’t be changed after you submit the app:
- – Game Center
- – iCloud display sets
- – App Store text and images (including those in additional languages)
- – Categories
- – Keywords
- – Rating
- – Optional app previews
Also, make sure to validate the following properties that will cause your app to be rejected if the iTunes Connect information doesn’t match what’s set in the app build:
- – Bundle ID
- – Version number (the App Store version number)
- – App sandbox information
When you submit the app, status changes to “Waiting for Review”.
7. Release the app
After you submit your build, Apple will review the app and its metadata. If by any chance Apple rejects your build or metadata, the status of the app will be changed to “Rejected” and you will be notified with the reason for the rejection. iTunes Connect provides excellent Resolution Center to help you find the resolution for your problem.
If Apple approves your app, the status of your app will change to “Ready for Sale” and you will also be notified of the status change. When the app becomes available in iTunes Connect you will be able to track the number of downloads and follow comments and issues users have.
You can set your app to release automatically or manually. If you choose to release it automatically, it will become available in app store right after the app has been approved for release. Choosing to release it manually will give you the option to release it on a date of your choosing.
Making an app for App Store is not an easy task. Always make sure to prepare unique and high-quality content and assets (icons, screenshots, and metadata) for your app as well as releasing your app bug-free. Users will appreciate it and it will result in a lot more downloads.
If you have a vision of how your dream app should look like but don’t have the time to make it yourself, or just have a question regarding the process, please contact us and we will be happy to help!


in testflight it shows me READY TO SUBMIT but no option for submit what is the next process ? what should i need to do?